|
Rating

|

I followed the included drawings and assembled the booms.      I first built up the main frame and added the main frame pivot bin to the main boom as I built it up. The main frame sides will flex to accept the main frame pivot pin. I selected to glue the main boom in place. I had to cut a length of wire to act as the main ram. The length of the wire determines the angle of the main boom. I then installed pivot ram. I drilled out the ram bodies to accept the wire and the main elevation ram end. The smaller booms where glued into a “stowed” position but not glued into the main boom at this time. 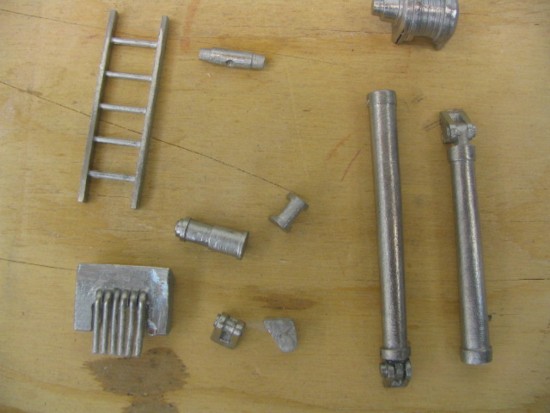 At this point I finished cleaning up the rest of the metal parts.  A close up view of the hook arm, hook arm link and the hook.  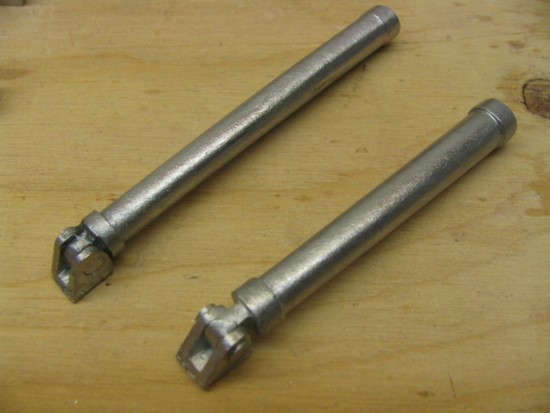 Close up of the cleaned up ram bodies.  Having the hydraulic pipe brackets pre drilled made this much easier. The pipe brackets all lined up and fit the included wire.  Here I am adding more of the hydraulic lines and brackets to the side of the main boom. The lines there bent to shape, the brackets added then glued in place. After they had dried I then trimmed the hydraulic lines to size.  The lines trimmed to size.
|
Last entries
Another year has passed!
Time to start work again? USS Spruance Superstructure USS Spruance Superstructure USS Spruance Superstructure USS Spruance Superstructure USS Spruance Superstructure Building the ATLAS 5-Ton Hydraulic Deck Crane Building the ATLAS 5-Ton Hydraulic Deck Crane uilding the ATLAS 5-Ton Hydraulic Deck Crane Last Comments
1 user(s) viewing
1 guest(s)
0 member(s) 0 anonymous member(s) Google.com Search My Blog
Categories
My Blog Links
|

 Aug 29 2006, 09:48 PM
Powered By IP.Blog
1.3.3 © 2024 IPS, Inc.