|
Now
is a time for sanding the hull. Although we "rough"
sanded the hull, now we have to sand the hull so it will
fair smoothly into the deck outline. Very little sanding
should be necessary to smooth out the contours of the
hull. I used Bondo® auto body filler to fill the gaps in
the planking. This type of filler work good and is
easy to shape if "rough" sanded before it completely
sets.
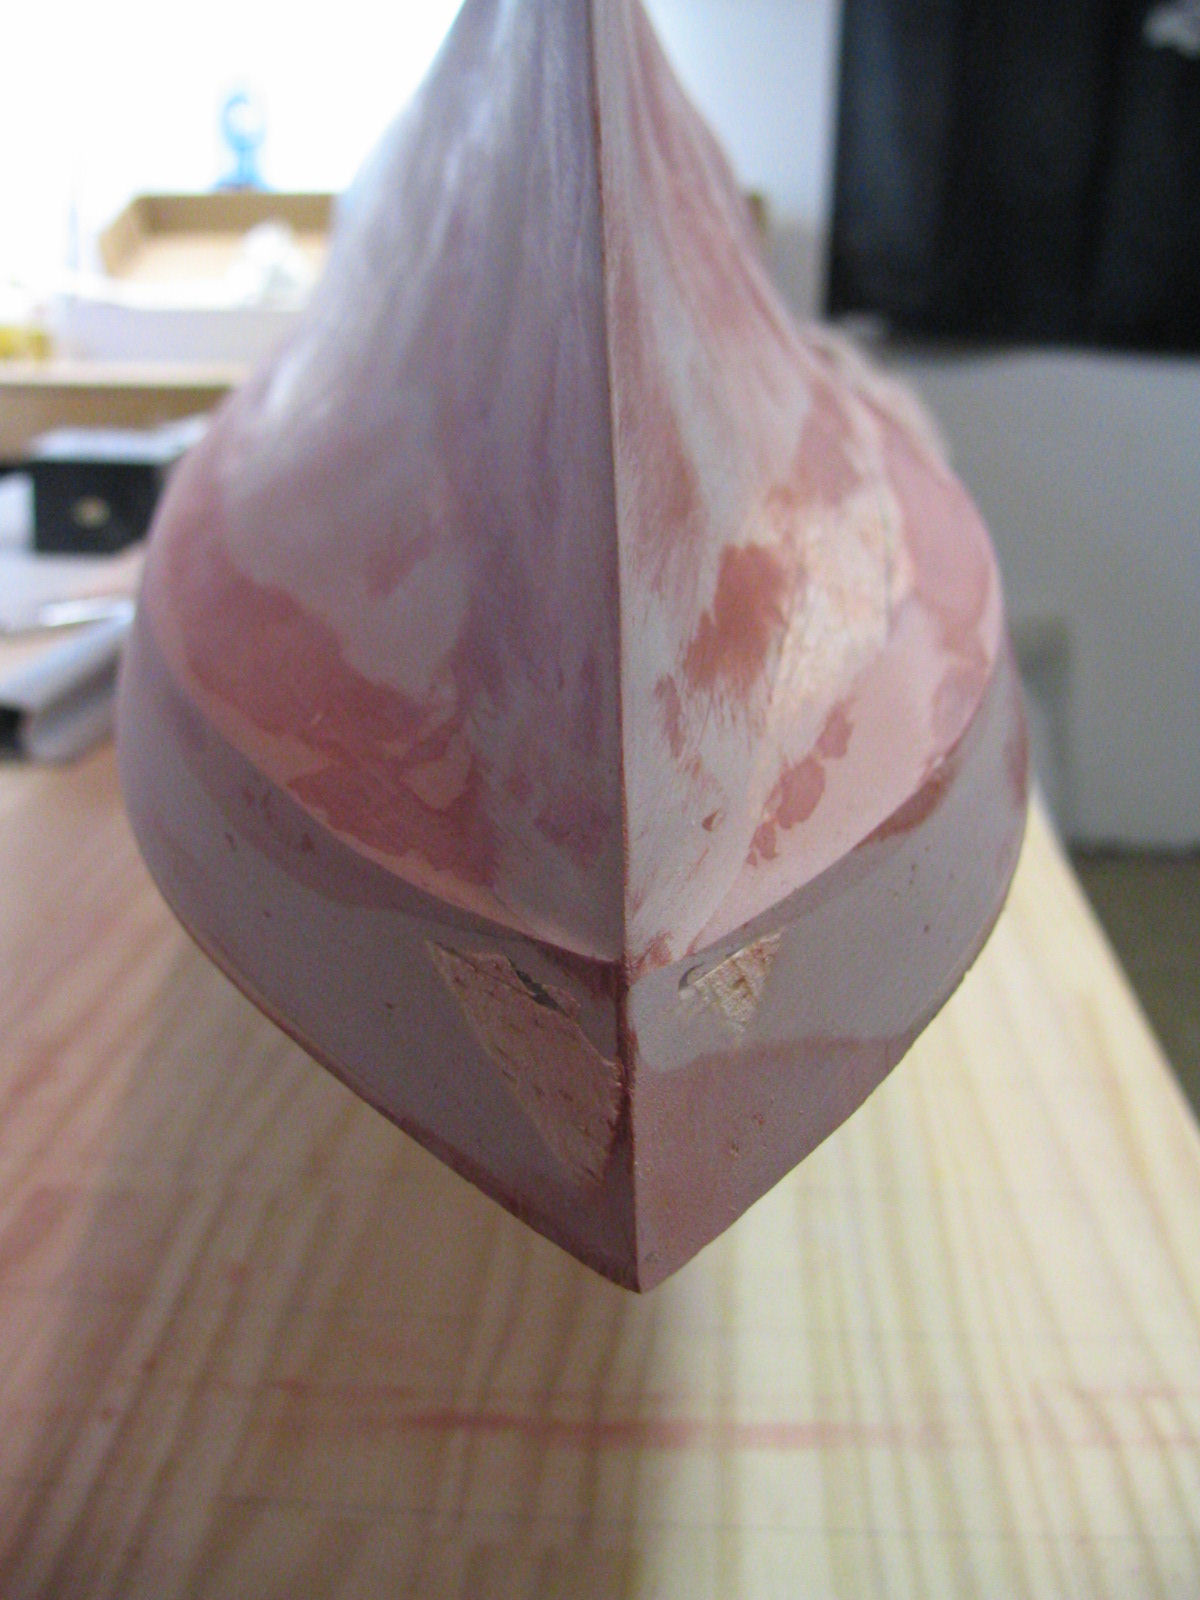
The most important part of the hull that you will need to ensure that is shaped
correctly is the sheer knuckle and the bow. These
are hot only the most important but also the most difficult areas on the hull to shape
correctly. Take your time, sand, add filler, sand
and repeat if necessary. Look at the pictures to
help you. You can see the balsa planks at the bow,
the filler is needed to "finalize" the |