The Superstructure:
Forward Superstructure (Cont.)
The Superstructure:
CIWS Deck:
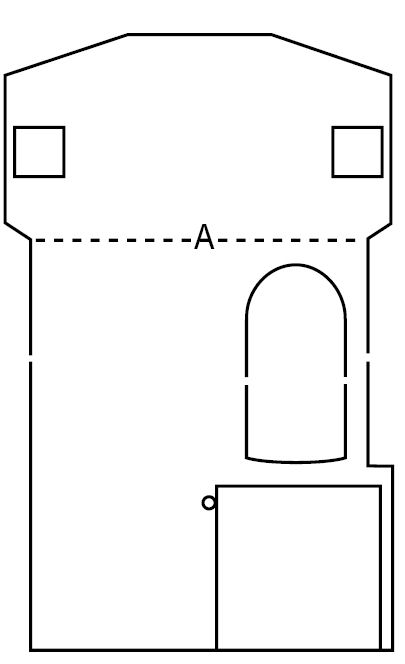
Be
sure to cut out the underside of the back deck of the
main deck. You will need room for the lower sections to
be added underneath. See (A) below.
The Superstructure:
Second Deck:
The angled bulkheads are a little tricky.
Homeport Model Ships
would suggest that you try fitting them before gluing
them into place. Depending on how the sections
were built, you might have to shave a little off to get
the walls to fit just right.
The Superstructure:
Aft Superstructure:
Again, this section is a
box shape that will fit into the middle decks. The few
parts that need some explanation are the port wall.
Locate the parts needed and remove then from the boards.