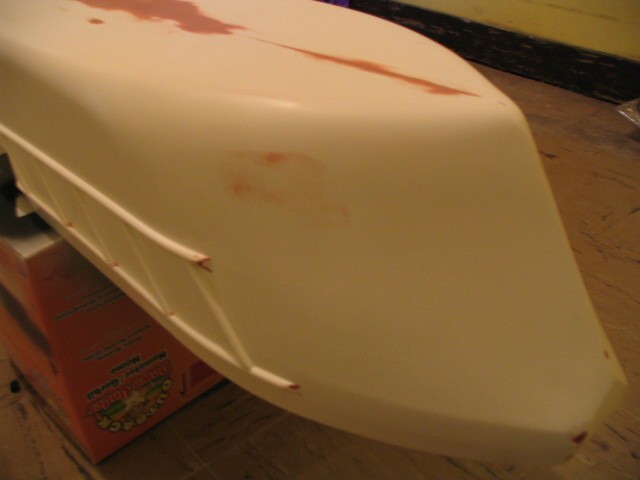
Model Slipway supplies
this hull with a gel-coat on the outside of the hull, which is a superb base for painting.
Remember that before assembling it, however, you should rub it
down all over with fine Wet and Dry paper (600 grit) to remove
the gloss and any remaining release agent in order to provide a
good key for the paint finish.
By
doing this, the hull may
acquire a charge of static charge of electricity, which can make
it difficult to obtain a satisfactory paint finish. To cure
this, wash the hull gently with a little soap or detergent and
leave it to air dry naturally.
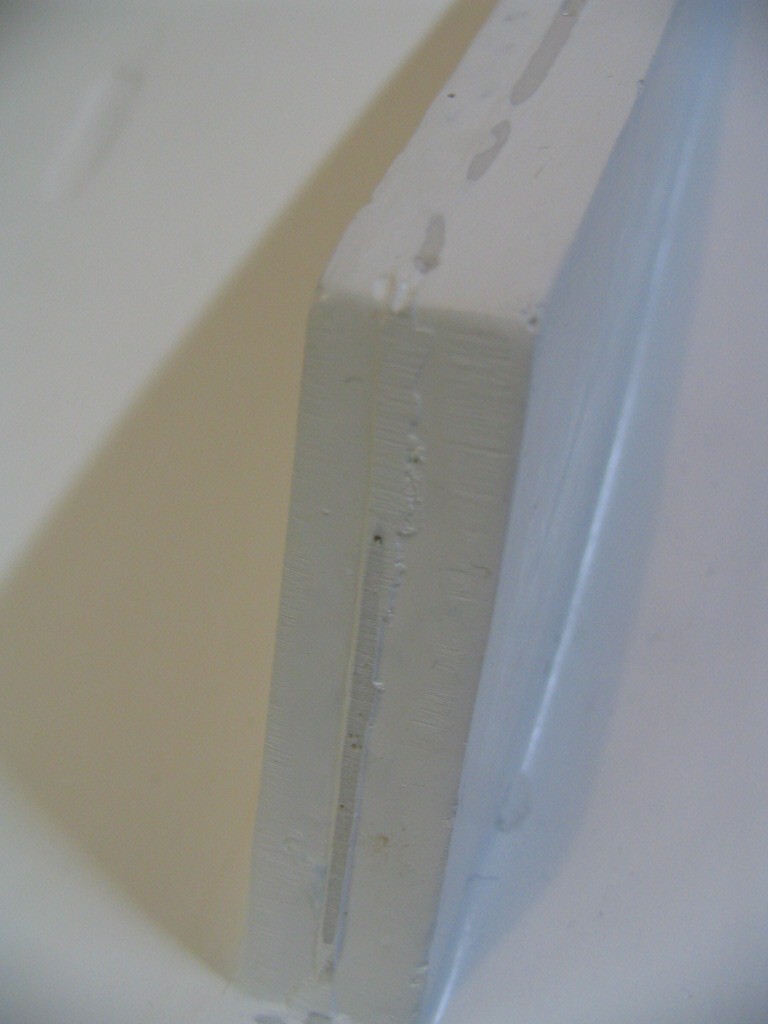
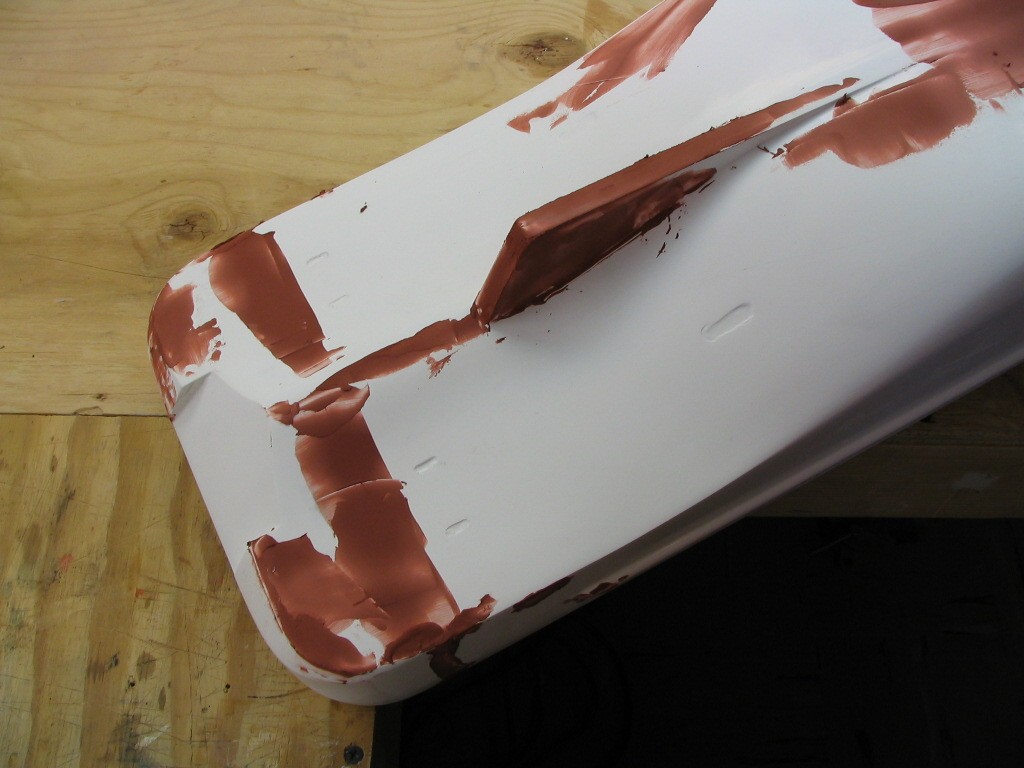
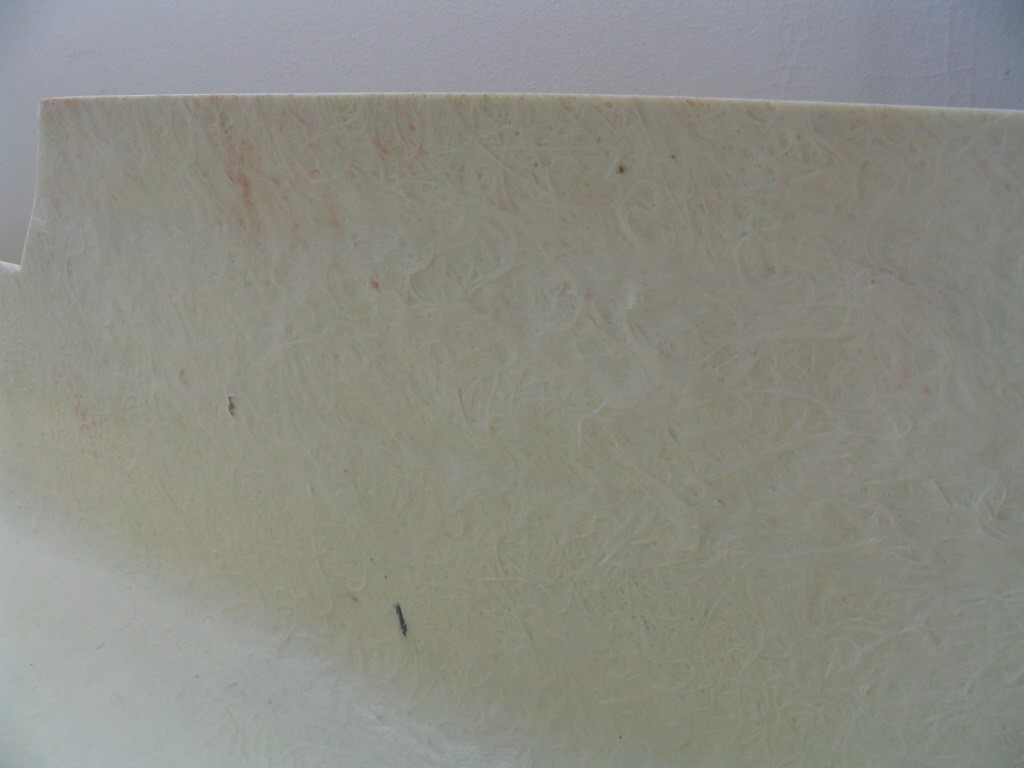
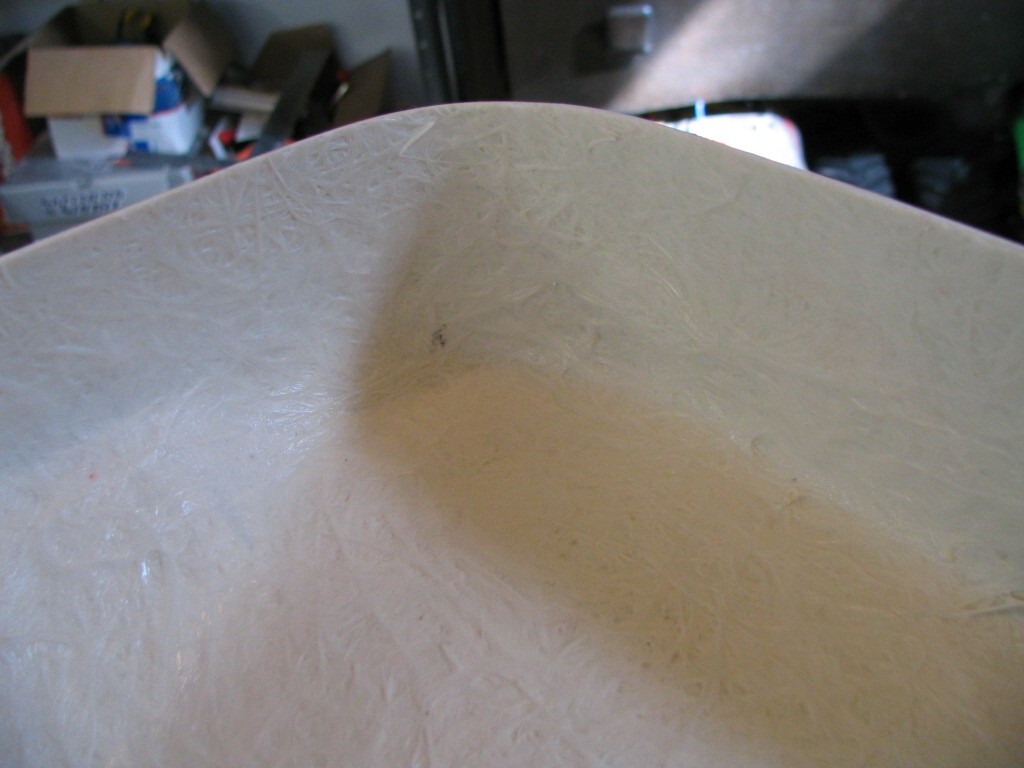
Because
the inside of the hull is rough, I first roughed up the surface
where the deck supports will go using 80 grit sand paper.
I then used Bondo to help smooth out this area.

Click on image to enlarge

Click on image to enlarge

Click on image to enlarge

Click on image to enlarge
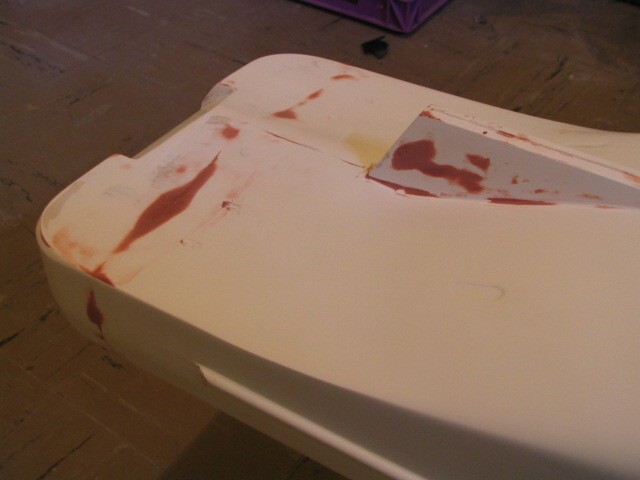
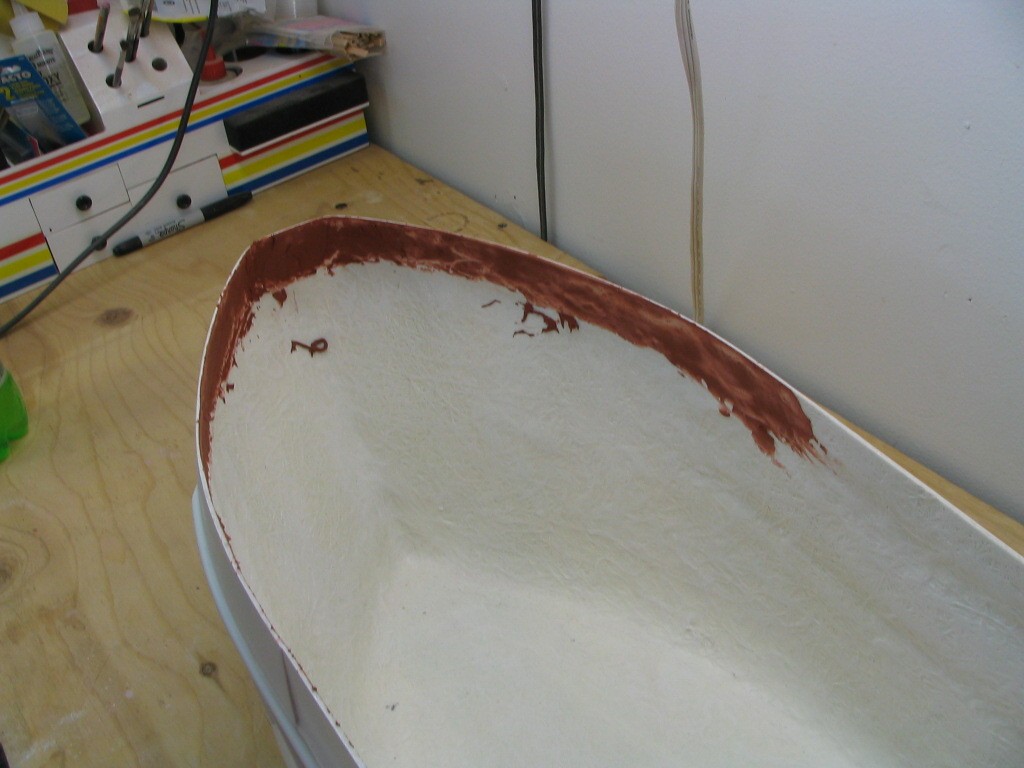
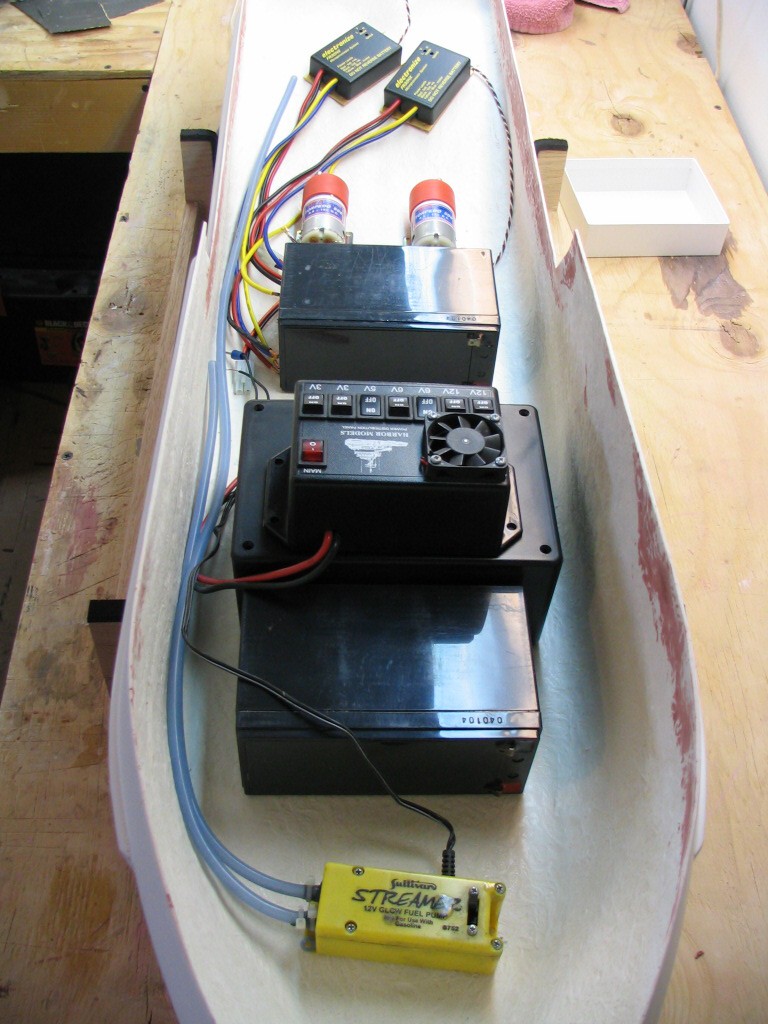
After I sanded the inside
filler, I wanted to get an idea of where I was going to place my
electronics inside the hull. The placement of the
batteries for example, is very important. If they are
placed close to the center of the hull, the hull will tend to
bob in the water. If the batteries are placed closer to
the stern and bow this will reduce the bobbing action in the
water. The two pictures below show the initial layout of
the electronic components. (This is not the final
location, but gives me an idea of where things go)

Click on image to enlarge

Click on image to enlarge